Window tint for home is a practical upgrade that enhances comfort, privacy, and energy efficiency. By applying a film to interior glass surfaces, homeowners can reduce heat gain, block UV rays, and create a more comfortable living environment. This guide covers what window tint for home is, the benefits, how to choose the right film, installation options, costs, and safety considerations so you can make an informed decision.
What is window tint for home?
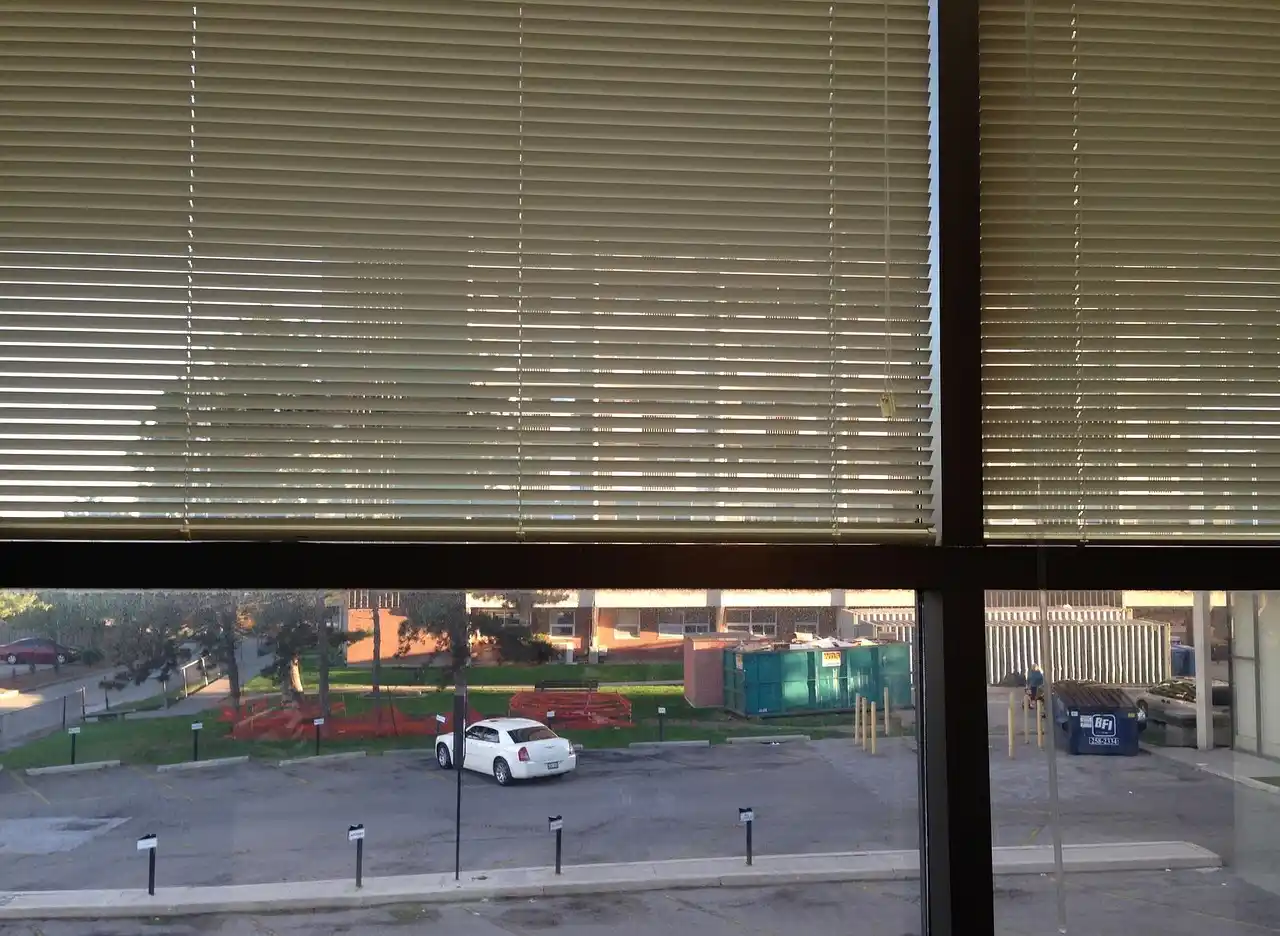
Window tint for home refers to a thin film applied to interior glass. The film can be dyed, metalized, ceramic, or nanoceramic, each with distinct performance characteristics. In addition to glare reduction, tinting helps filter light, cut heat, and protect furnishings from sun damage. Professional installers ensure a seamless finish and warranty coverage, while DIY kits are available for smaller projects.
Benefits of window tint for home
- Energy savings: Reduces solar heat gain, lowering cooling costs in hot months.
- UV protection: Filters up to 99% of harmful ultraviolet rays, protecting skin and fabrics.
- Glare reduction: Improves comfort on screens and in bright rooms.
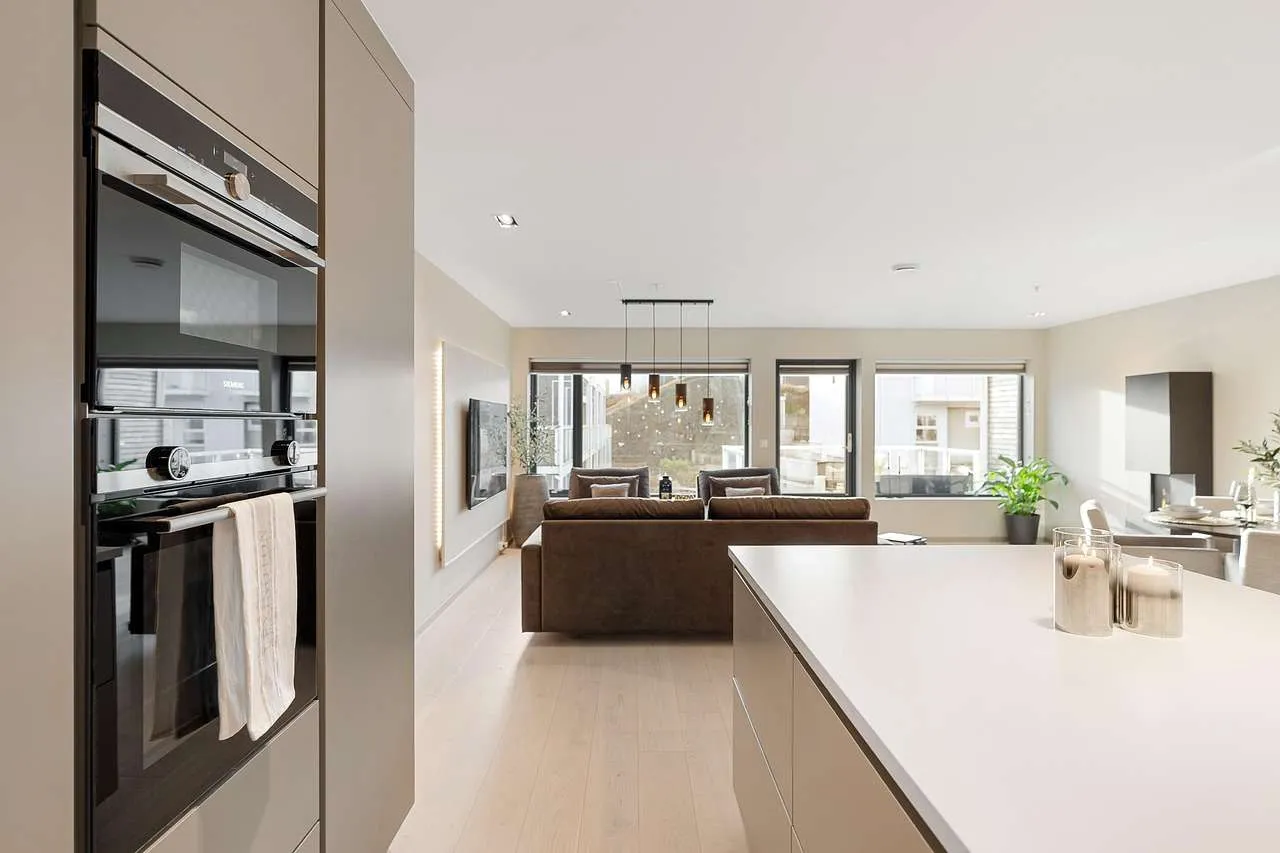
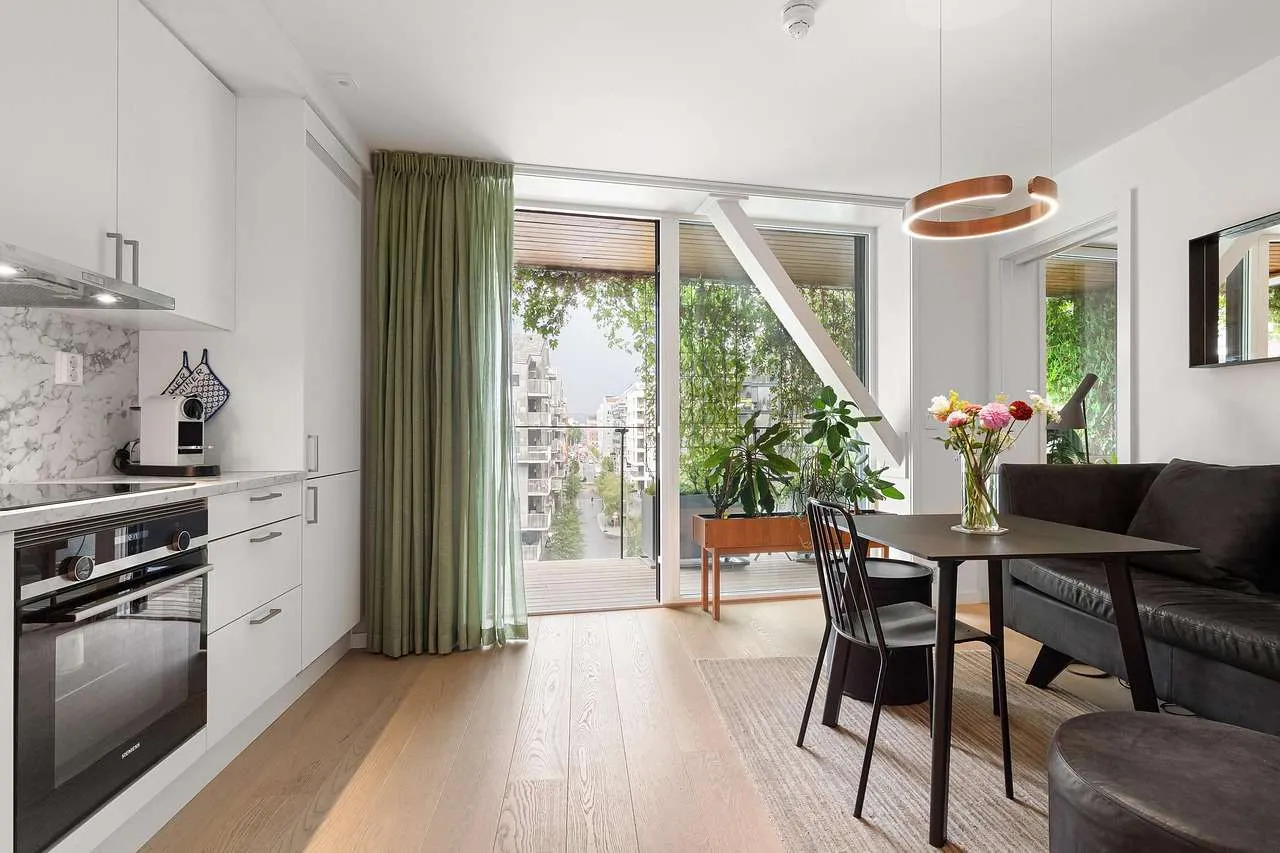
- Privacy and aesthetics: Enhances privacy while maintaining natural light; many films add a sleek look.
- Furniture and floor protection: Limits sun damage to upholstery and wood finishes.
How to choose the right tint for home
Start by identifying goals: energy efficiency, privacy, or safety. Check the Visible Light Transmission (VLT) percentage to control how much light enters. In hot climates, higher heat rejection films are advantageous. If you have safety concerns, consider a security or safety film with higher impact resistance. Review warranties, installation quality, and whether the film is designed for residential use. Finally, compare professional quotes to ensure you get durable materials and proper workmanship.
Film types and comparison
| Film Type | UV Rejection | VLT | Heat Rejection | Durability | Price Range |
|---|---|---|---|---|---|
| Dyed | High (≈99%) | 35–40% | Moderate | Moderate | Low–Mid |
| Metalized | High (≈99%) | 20–40% | High | Good | Mid |
| Ceramic | Very High (≈99%) | 40–65% | High | Excellent | High |
| Nano-Ceramic | Very High (≈99%) | 50–70% | Very High | Excellent | High |
Installation options and maintenance
Most homeowners opt for professional installation to ensure a flawless finish, warranty protection, and adherence to local codes. A skilled installer will measure, cut, and apply the film with precision, minimizing bubbles or edge lifting. For DIY projects, follow product instructions, prepare clean glass, and use a heat gun or squeegee to remove air pockets. Maintenance is simple: clean with a soft cloth and a mild, non-ammonia cleaner. Avoid abrasive tools that can scratch the film.
Cost and return on investment
Prices vary by film type, window size, and whether the installation is DIY or professional. Typical installed costs range from $5 to $20 per square foot, with mid-range films and professional installation around $8–$12 per square foot. While upfront costs can be notable, the long-term energy savings, UV protection, and furniture longevity deliver a favorable return over years, especially in sun-rich regions.
Compliance and safety
Check local regulations, HOA guidelines, and building codes before choosing a tint level for home windows. Some jurisdictions restrict reflective or mirrored films on street-facing panes, while others permit standard residential tints. Safety considerations include installing tempered or laminated glass in glazing applications and selecting films with proper warranty coverage for breakage and adhesion.
Conclusion
Conclusion, window tint for home delivers cooler rooms, UV protection, glare control, and privacy. By choosing the right film type, light transmission, and a professional installation, you gain energy savings and longer-lasting furnishings while staying compliant with local codes. Start with a clear goal, compare warranties, and consult a licensed installer to maximize comfort and value in your home.